

How to Fix Upload: Failed to Write File to Disk Error in WordPress
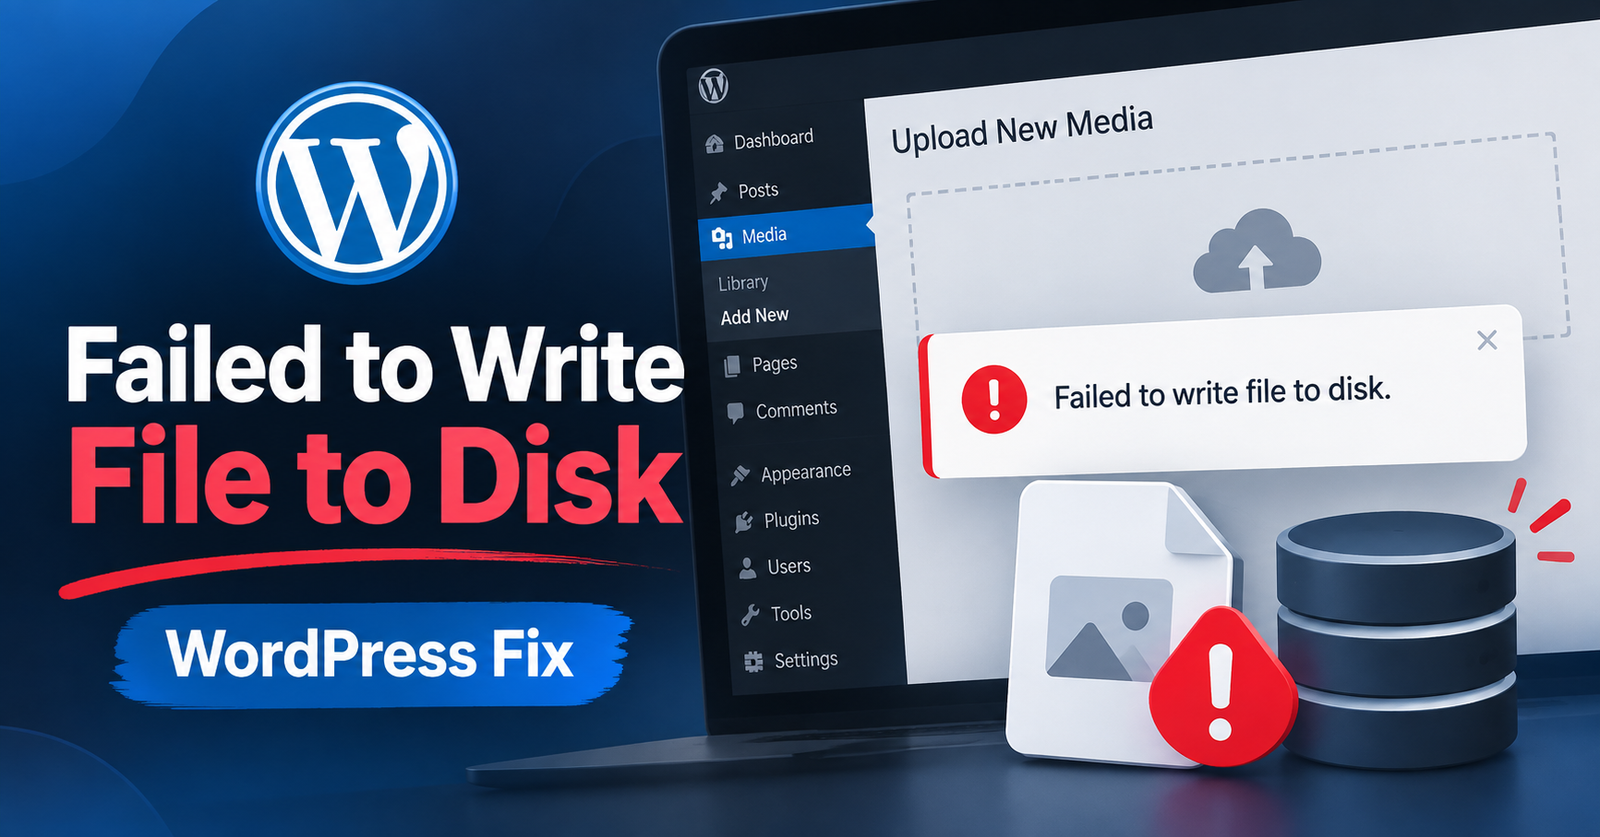
Nothing kills your productivity faster than writing a great blog post, dragging a header image into WordPress, and getting hit with this red warning box:
Upload: Failed to write file to disk.
No explanation. No error code. Just a blank refusal to save your image.
I have seen this happen dozens of times on both small blogs and client sites. The good news? Your website is not broken, your database is fine, and you can usually get this sorted out in less than five minutes.
Here is a straightforward look at why WordPress does this, along with four ways to fix it.


Why WordPress Shows the Failed to Write File to Disk Error?
Whenever you upload an image, PDF, or plugin through your WordPress dashboard, two things happen in the background:
- WordPress first uploads the file into a temporary holding folder on your web server.
- It then moves that file into your actual wp-content/uploads/ directory.
If WordPress runs into a locked door at either step—meaning it does not have write permissions, or the server literally has no physical room left—it simply throws the failed to write file to disk message.
In most cases, the issue comes down to incorrect file permissions. Let us fix that first.
Fix 1: Reset Your Folder Permissions
Every folder on your web hosting server has a permission code. This code tells the server who is allowed to read, write, or execute files.
If an update, hosting migration, or security plugin altered these numbers, WordPress loses permission to add new media.
Here is how to set them right using cPanel File Manager or an FTP client like FileZilla:
Step 1: Open your wp-content folder
Log in to your hosting cPanel, open File Manager, and go to your website root folder (usually inside public_html). Open the wp-content folder.
Step 2: Fix Folder Permissions to 755
Right-click on the uploads folder and click Change Permissions (or File permissions in FTP).
Look at the permission value box. It should be set to 755.
If you are using FTP, check the box for Recurse into subdirectories and select Apply to directories only.
Save changes.
Step 3: Fix File Permissions to 644
Right-click the uploads folder once more.
This time, change the numeric value to 644.
If you are using FTP, select Recurse into subdirectories and choose Apply to files only.
Click OK.
A Quick Warning: You might see some outdated tutorials telling you to set permissions to 777. Never do this. Setting a folder to 777 gives anyone on the web permission to edit and execute files on your server, which leaves your site open to security risks. Always stick with 755 for folders and 644 for files.
Head back to your WordPress media library and try uploading your image again. If it works, you are all set.
Fix 2: Check if Your Hosting Storage is Full
If your permissions were already set to 755 and 644, the next suspect is your disk space quota.
Even if you purchased an unlimited hosting package, almost every host enforces an Inode limit, which is the total number of files and folders your account can hold. When you max out your disk space or inodes, WordPress cannot physically write another byte to the drive.
How to check:
- Log in to your hosting account dashboard.
- Look at the statistics sidebar under Disk Usage and File Usage (Inodes).
- If either metric is at or near 100 percent, you have found the problem.
What to do:
- Delete old unused WordPress themes and inactive plugins.
- Clear out huge automated backup files stored locally inside wp-content/backups.
- Empty your trash folder in the media library and comments section.
Once your drive has some breathing room, try the upload again.
Fix 3: Force WordPress to Use a Custom Temporary Folder
Sometimes the problem is not your uploads folder at all. It is the temporary folder on your server (/tmp).
If your host’s shared temporary folder is full or has permission conflicts, WordPress cannot store the file long enough to transfer it.
We can fix this by telling WordPress to use a temporary directory inside your own installation.
Step 1: Open your wp-config.php file
Using cPanel File Manager or FTP, go to your site’s root directory (public_html) and find the file named wp-config.php. Right-click and choose Edit.
Step 2: Add this one line of code
Scroll down until you see this line:
/* That's all, stop editing! Happy publishing. */
Right above that line, paste the following snippet:
define('WP_TEMP_DIR', dirname(__FILE__) . '/wp-content/temp/');Step 3: Create the temp folder
Go into your wp-content folder.
Create a new folder named temp.
Right-click that new folder, select Permissions, and make sure it is set to 755.
Save the file and try your upload again. WordPress will now bypass the server’s default temp folder entirely.
Fix 4: Send This Message to Your Web Host
If you tried the first three steps and the upload still fails, the problem is on your hosting provider’s server configuration.
On shared servers, the root partition or temporary disk drive can fill up completely. When that happens, only the hosting support staff has the root access needed to clear it.
Open a support ticket and copy-paste this message:
Hi Support team,
I am getting an “Upload: Failed to write file to disk” error when trying to upload media to my WordPress dashboard.
I have already verified that my uploads directory permissions are set to 755/644, my account quota has plenty of free space, and the site is not hitting inode limits. Could you please check if the server temporary directory (/tmp) partition is full or if there is a server-level ownership mismatch on my account?
Thank you!
Most hosting support teams recognize this immediately and fix it within a few minutes.
Wrapping Up
Most of the time, resetting your uploads folder to 755 permission will solve this error immediately. If not, cleaning up some disk space or adding the custom temp folder code will do the job.
Did one of these fixes work for your site? Let me know in the comments below, and mention which hosting provider you are using so other readers can benefit.
One Comment