

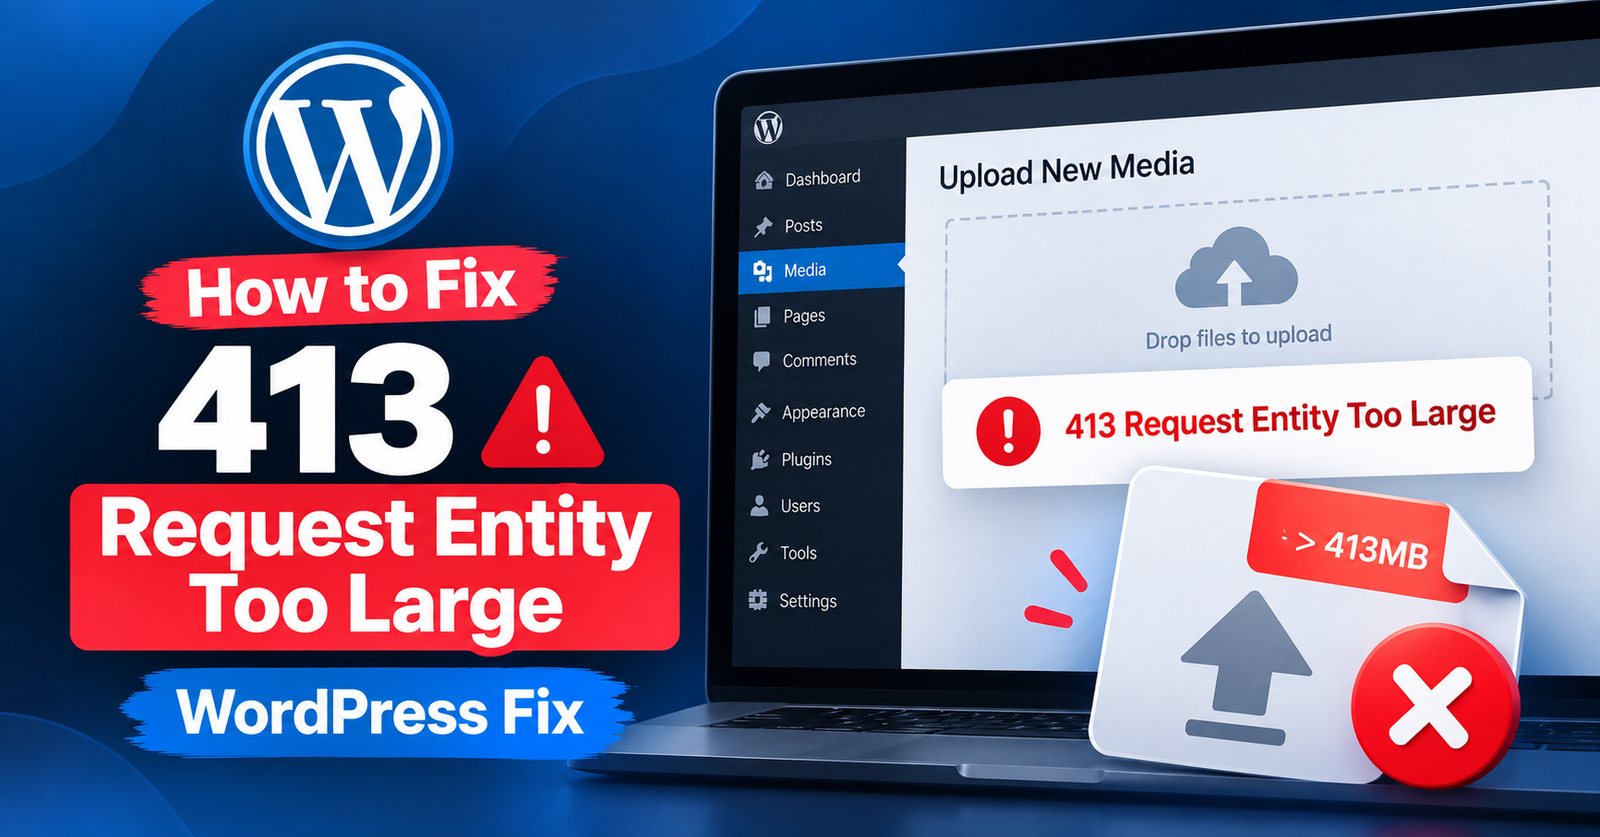
You download a brand new WordPress theme, attempt to upload the zip file through your dashboard, and suddenly your screen freezes on an ugly blank page with one blunt message:
413 Request Entity Too Large
If you have never seen this notification before, it can look intimidating. But behind the technical jargon, the meaning is straightforward: the file you are trying to upload exceeds the maximum file size limit allowed by your web hosting server.
Most shared hosting companies set a conservative default upload limit—often as low as 2MB or 8MB—to prevent server overloads. Fortunately, bumping this limit up is easy and requires zero coding experience.
In this guide, we will break down why this happens and walk through four quick ways to fix the 413 request entity too large error in WordPress.




What Causes the 413 Request Entity Too Large Error?
Whenever you upload a theme, plugin, high-resolution video, or custom font to your WordPress site, your browser sends a request to the web server.
Web servers like Apache and Nginx have strict boundaries on how large an incoming request can be. If the file size is larger than the limit configured in your server settings, the server refuses to accept the data and sends back the HTTP status code 413.
To resolve this, all you need to do is increase your maximum file upload limit and memory allocation. Choose any of the methods below based on what type of access you have to your hosting control panel.
Fix 1: Increase Upload Limits Using functions.php
If you prefer editing within WordPress files directly, the easiest starting point is your active theme’s functions.php file.
Step 1: Open your functions.php file
Log in to your hosting cPanel, open File Manager, and navigate to public_html/wp-content/themes/your-active-theme/. Locate the file named functions.php and click Edit.
Step 2: Paste the upload limits snippet
Scroll to the bottom of the file and paste the following snippet:
@ini_set( 'upload_max_size' , '64M' );
@ini_set( 'post_max_size', '64M');
@ini_set( 'max_execution_time', '300' );
This code raises your maximum upload limit to 64 megabytes and increases execution time to 300 seconds so larger uploads do not time out midway. Save changes and test your upload.
Note: If you switch your WordPress theme in the future, you will need to re-add these lines to the new theme’s functions.php file.
Fix 2: Modify Your .htaccess File (Recommended for Apache)
If editing functions.php did not work, modifying your .htaccess file is the most reliable solution for Apache web servers.
Step 1: Locate your .htaccess file
In your cPanel File Manager, open the root directory of your website (public_html). Look for a hidden file named .htaccess.
If you cannot see it, click Settings in the top-right corner of cPanel and check the box that says Show Hidden Files (dotfiles).
Step 2: Add upload directives
Right-click the .htaccess file and choose Edit. Scroll down to the very bottom and add the following lines:
php_value upload_max_filesize 64M
php_value post_max_size 64M
php_value max_execution_time 300
php_value max_input_time 300
Click Save Changes. Now return to your WordPress media library or theme uploader and try uploading the file again.
If your uploads still run into storage errors after this, make sure to read our guide on how to fix the failed to write file to disk error to verify your folder permissions are not blocked.
Fix 3: Update php.ini or .user.ini File
On servers where .htaccess modifications are restricted, adjusting your PHP configuration file directly will do the trick.
Step 1: Find or create php.ini
Go to your root website directory (public_html). Look for a file called php.ini or .user.ini.
If neither file exists, you can create a new plain text file in the root folder and name it php.ini.
Step 2: Add or update the values
Open the file and add or adjust these lines:
upload_max_filesize = 64M
post_max_size = 64M
memory_limit = 256M
max_execution_time = 300
Save the file and refresh your browser. This will tell the PHP engine to allow files up to 64MB.
Fix 4: Increase Client Max Body Size on Nginx Servers
If your site runs on an Nginx server instead of Apache, the previous Apache directives will not apply. Nginx uses a specific configuration rule called client_max_body_size.
If you have VPS or dedicated server access with root permissions, open your nginx.conf file:
sudo nano /etc/nginx/nginx.conf
Inside the http, server, or location block, add or modify this line:
client_max_body_size 64M;
Save the file and restart Nginx by running:
sudo systemctl reload nginx
If you are on shared Nginx hosting and do not have command line access, simply send a ticket to your host asking them to increase the client_max_body_size value for your domain.
Fix 5: Upload Files Directly via FTP (The Quick Workaround)
If you are in a rush and need to install a large plugin or theme immediately without altering server configs, you can bypass the browser uploader completely.
- Unzip the theme or plugin folder on your computer.
- Open an FTP client like FileZilla and connect to your server.
- Navigate to wp-content/themes/ (for themes) or wp-content/plugins/ (for plugins).
- Drag and drop the unzipped folder directly onto your server.
Once the upload completes, head over to your WordPress dashboard. Navigate to Appearance > Themes or Plugins > Installed Plugins, and your new addition will be sitting there waiting to be activated.
Wrapping Up
Seeing the 413 Request Entity Too Large error is annoying, but it is fundamentally just a precautionary server limit. Increasing the limit via .htaccess or your PHP configuration file solves the issue permanently in almost all situations.
Which method worked best for your setup? If you have questions or ran into an unexpected server error, drop a comment below and let us know.
One Comment