

Missing a Temporary Folder in WordPress: 3 Quick Steps to Fix It
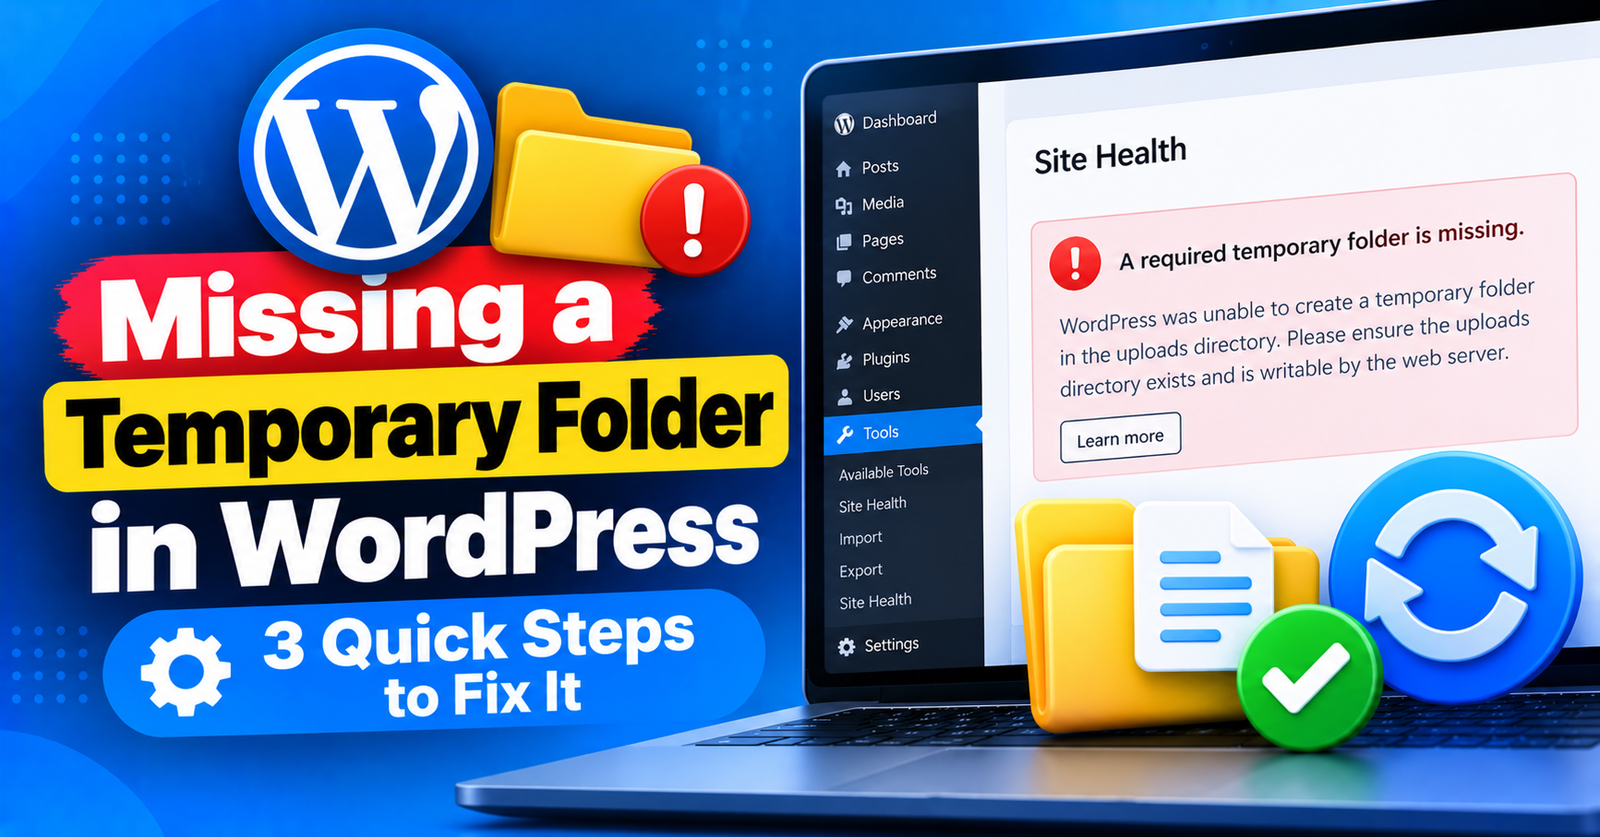
You try to upload an image to your WordPress media library or install a newly purchased plugin, but instead of the upload finishing, WordPress throws an annoying error message:
Missing a temporary folder.
This error prevents you from uploading any media files, updating themes, or installing plugins. Your dashboard becomes completely restricted.
The good news? This error does not mean your files are corrupted. It is caused by an incorrect PHP setting on your server that can be resolved with a single line of code.
In this tutorial, we will show you what causes the missing a temporary folder error in WordPress and how to fix it in three easy steps.



What Causes the Missing a Temporary Folder Error?
Whenever you upload a file through WordPress, PHP must first save the file to a temporary directory on the server before transferring it to your wp-content/uploads/ folder.
If your hosting environment has:
- An undefined temporary directory in its PHP configuration
- A temporary folder that was accidentally deleted
- Incorrect folder permissions preventing PHP from writing to it
WordPress will be unable to process the file and will immediately show the “Missing a temporary folder” error.
Step 1: Edit Your wp-config.php File
We can solve this issue by telling WordPress explicitly which folder to use for temporary storage within your own website directory.
- Log in to your hosting cPanel, open File Manager, and go to your
public_htmlroot directory. - Locate the wp-config.php file. Right-click and choose Edit.
- Scroll down until you locate the line:
/* That's all, stop editing! Happy publishing. */ - Paste the following line right above that comment:
define('WP_TEMP_DIR', dirname(__FILE__) . '/wp-content/temp/');Click Save Changes.
Step 2: Create the Temp Folder Inside wp-content
Now that we told WordPress where the temporary folder should be, we must physically create that folder on your server.
- In cPanel File Manager, open the wp-content folder.
- Click the + Folder button at the top toolbar.
- Name the new folder: temp
- Click Create New Folder.
Step 3: Set Permissions to 755
The newly created folder must have the proper permissions so WordPress can write and delete files inside it.
- Right-click on the newly created temp folder and select Change Permissions.
- Set the numeric permission value to 755.
- Save changes.
Now return to your WordPress admin dashboard and try uploading an image to the Media Library. The upload should succeed without any error!
If you experience any other permission or write failures while uploading files, check out our companion guides on solving the failed to write file to disk error and fixing the 413 request entity too large limit.
Wrapping Up
The missing a temporary folder error is a classic PHP path misconfiguration. By defining WP_TEMP_DIR inside your wp-config.php file, you restore full upload capabilities to WordPress in under three minutes.
Did this fix work for you? Let us know in the comments below!