

How to Fix Corrupted System Files Using SFC and DISM in Windows 11
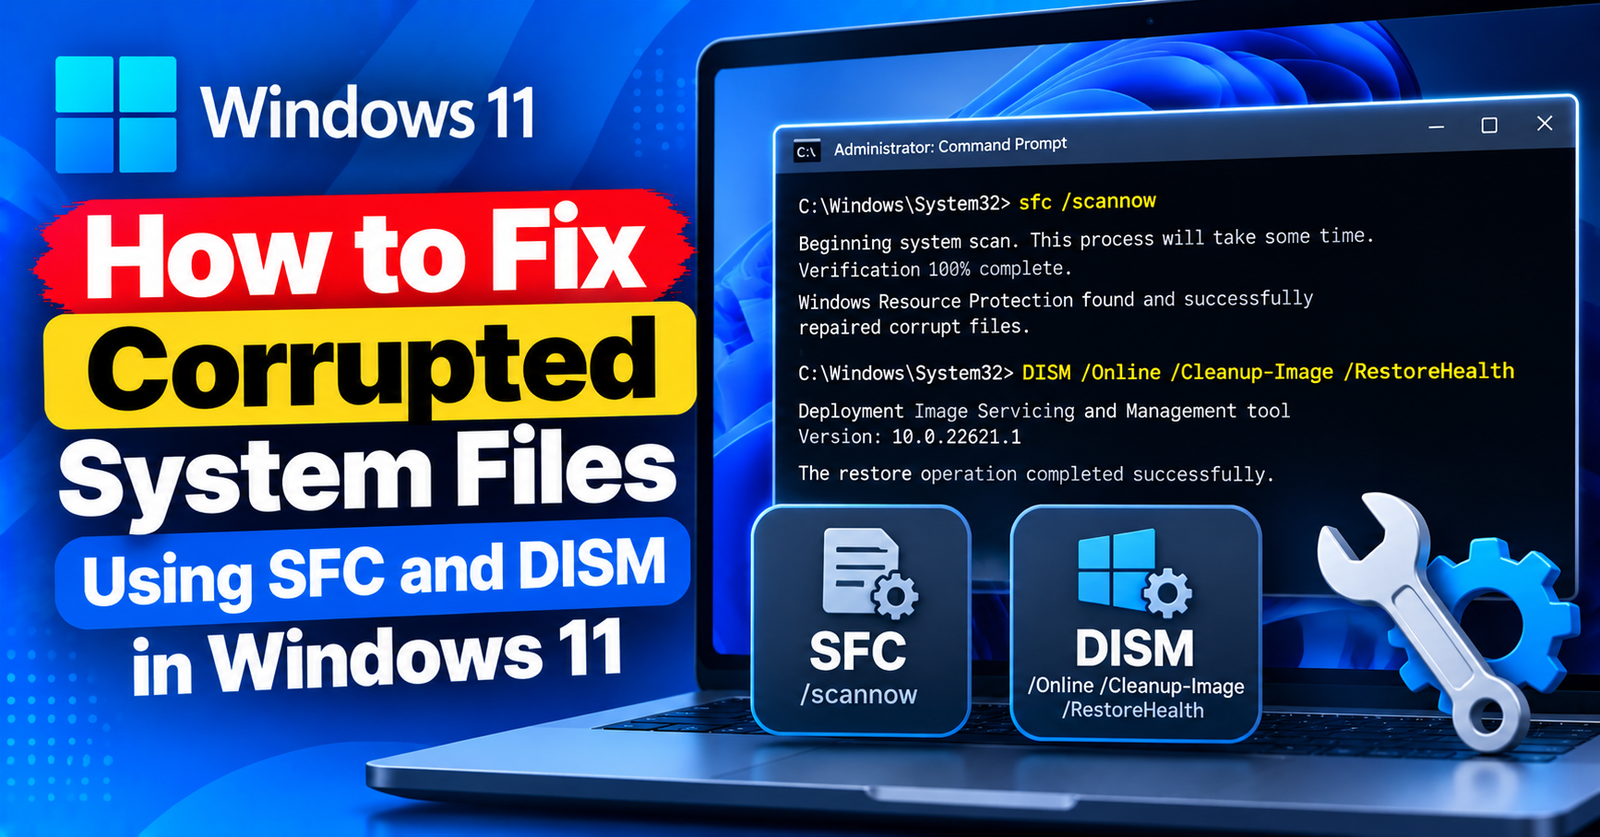
Is your Windows 11 PC suffering from random crashes, Blue Screen of Death (BSOD) errors, freezing file explorers, or apps that refuse to launch?
Over time, sudden power outages, malware infections, failed updates, and hard drive errors can corrupt essential Windows system files.
Rather than reinstalling Windows from scratch and losing your installed programs, Windows includes two powerful built-in command-line tools designed specifically to find and repair corrupt system components: SFC (System File Checker) and DISM (Deployment Image Servicing and Management).
In this guide, we will walk you through the correct order to run SFC and DISM in Windows 11 to repair damaged files cleanly.
The Difference Between SFC and DISM
Many users run SFC alone and wonder why it fails with “Windows Resource Protection found corrupt files but was unable to fix some of them.”





- SFC (System File Checker): Scans your local hard drive for corrupted Windows files and replaces them using clean copies cached inside your
WinSxSfolder. - DISM: If the local WinSxS component store itself is damaged, SFC cannot repair files. DISM connects directly to Microsoft’s official Windows Update servers to download and repair the component store first.
Rule of thumb: Always run DISM first to ensure your source files are healthy, then run SFC to repair your local installation.
Step 1: Open Command Prompt as Administrator
Both repair tools require elevated administrative privileges to scan system partitions.
- Press
Windows Key + Son your keyboard. - Type cmd into the search bar.
- On the right side of the search results, click Run as administrator.
- Click Yes when prompted by User Account Control (UAC).
Step 2: Run the DISM Tool to Repair the System Image
Before checking system files, verify and restore the Windows component image health.
In the Command Prompt window, paste the following command and hit Enter:
DISM /Online /Cleanup-Image /RestoreHealth
This process will scan your system and connect to Windows Update to download clean versions of any damaged component files. It typically takes between 5 and 15 minutes to complete.
Do not worry if the progress counter appears stuck at 20% or 62% for a few minutes; this is completely normal behavior while DISM unpacks archive files.
Step 3: Run the SFC Tool to Repair Corrupted System Files
Now that your Windows image source is 100% verified and healthy, run the System File Checker to repair your active installation files.
In the same Command Prompt window, type this command and press Enter:
sfc /scannow
System File Checker will scan all protected system files and replace corrupted files with healthy copies from the newly repaired component store.
Once the scan reaches 100%, you will see one of these outcome messages:
- “Windows Resource Protection did not find any integrity violations”: Your system files are completely healthy.
- “Windows Resource Protection found corrupt files and successfully repaired them”: Damaged files were detected and resolved!
Restart your computer to complete the repair process.
For more troubleshooting and computer optimization guides, check our tutorials on fixing the failed to write file to disk error and resolving 413 request entity too large issues.
Wrapping Up
Running SFC and DISM is the single most effective maintenance routine for resolving Windows instability and file corruption. Running DISM first followed by SFC ensures that your operating system repairs itself using verified Microsoft source files.
Did SFC successfully repair corrupted files on your PC? Let us know what issues it resolved in the comments below!