
WordPress Database Update Required Loop: 3 Simple Fixes
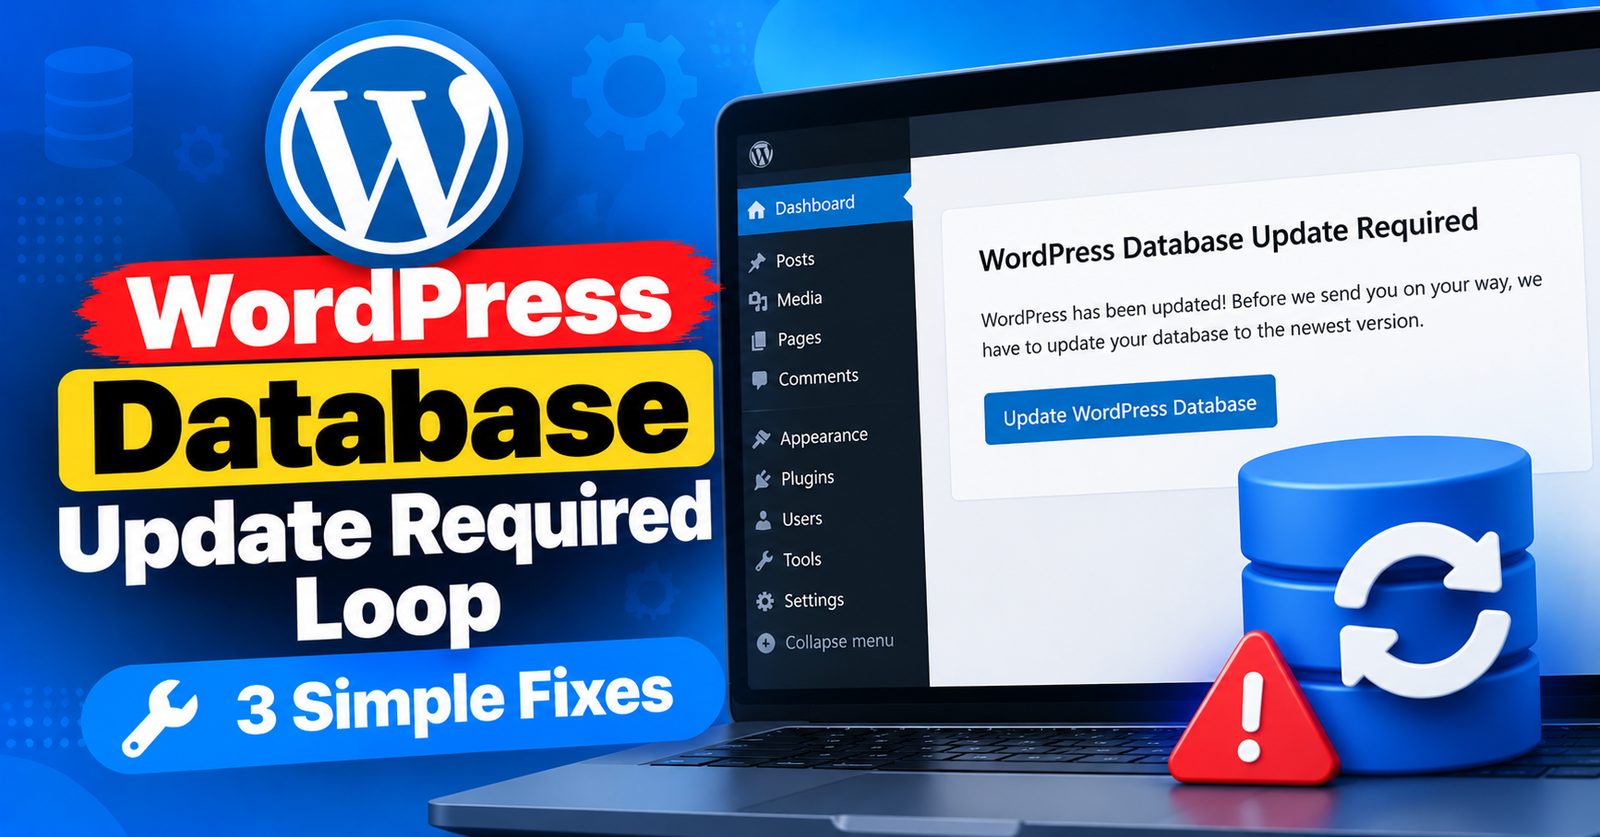
You log in to your WordPress dashboard after an update, and are prompted by a standard screen saying: “Database Update Required. WordPress has been updated! Next and final step is to update your database.”
You click the blue Update WordPress Database button. The screen says “Update Complete. Continue”. You click Continue, and… you are dumped right back onto the exact same “Database Update Required” screen.
No matter how many times you click update, the loop repeats endlessly, completely locking you out of your wp-admin area.
This annoying bug is known as the WordPress database update loop. It happens when WordPress updates the database structure, but object caching or server file permissions prevent WordPress from updating the core db_version value in your database.
In this guide, we will show you three simple steps to break the database update loop and regain access to your dashboard.

Fix 1: Clear Object Caching via FTP (The 60-Second Fix)
In over 80% of cases, an object caching script (like Redis or Memcached) is caching an outdated database version number, blinding WordPress to the fact that the update has already finished.
- Log in to your hosting cPanel or connect via an FTP client like FileZilla.
- Navigate to your website root directory:
public_html/wp-content/. - Look for a file named object-cache.php.
- Right-click on object-cache.php and rename it to object-cache.php.bak (or delete it).
- Refresh your admin login page.
With the stale object cache removed, WordPress will read the real database version directly, breaking the loop instantly!
Fix 2: Match the db_version in version.php and phpMyAdmin
If WordPress was interrupted during an update, the database version recorded in your files might differ from what is stored in your MySQL database.
Step 1: Find the version in core files
- In File Manager, navigate to
public_html/wp-includes/. - Open the file named version.php.
- Look for the line that defines
$wp_db_version(for example:$wp_db_version = 53496;). Note down this number.
Step 2: Check the version in phpMyAdmin
- In cPanel, open phpMyAdmin and select your WordPress database.
- Open the wp_options table (prefix may vary).
- Locate the row where
option_nameis db_version. - Click Edit on that row, change the
option_valueto match the number fromversion.php, and click Go.
Now return to your dashboard and log in. The prompt will vanish permanently.
Fix 3: Re-upload Fresh wp-admin and wp-includes Folders
If a core update stalled midway, some core files may be mismatched.
- Download a fresh zip of WordPress from
wordpress.organd extract it on your computer. - Connect to your server via FTP.
- Upload and overwrite the wp-admin and wp-includes folders with the fresh versions.
- Important: Never overwrite or delete your wp-content folder or wp-config.php file!
For more WordPress database and server administration tutorials, check out our guides on solving the failed to write file to disk error and expanding limits for 413 request entity too large issues.
Wrapping Up
The database update required loop is almost always caused by an outdated object-cache.php file holding on to an old version number. Deleting object-cache.php or aligning db_version values in phpMyAdmin gets you back into your admin dashboard quickly.
Did deleting object-cache.php break the loop for you? Let us know in the comments below!