

How to Fix 100% Disk Usage in Windows 11 (5 Proven Solutions)
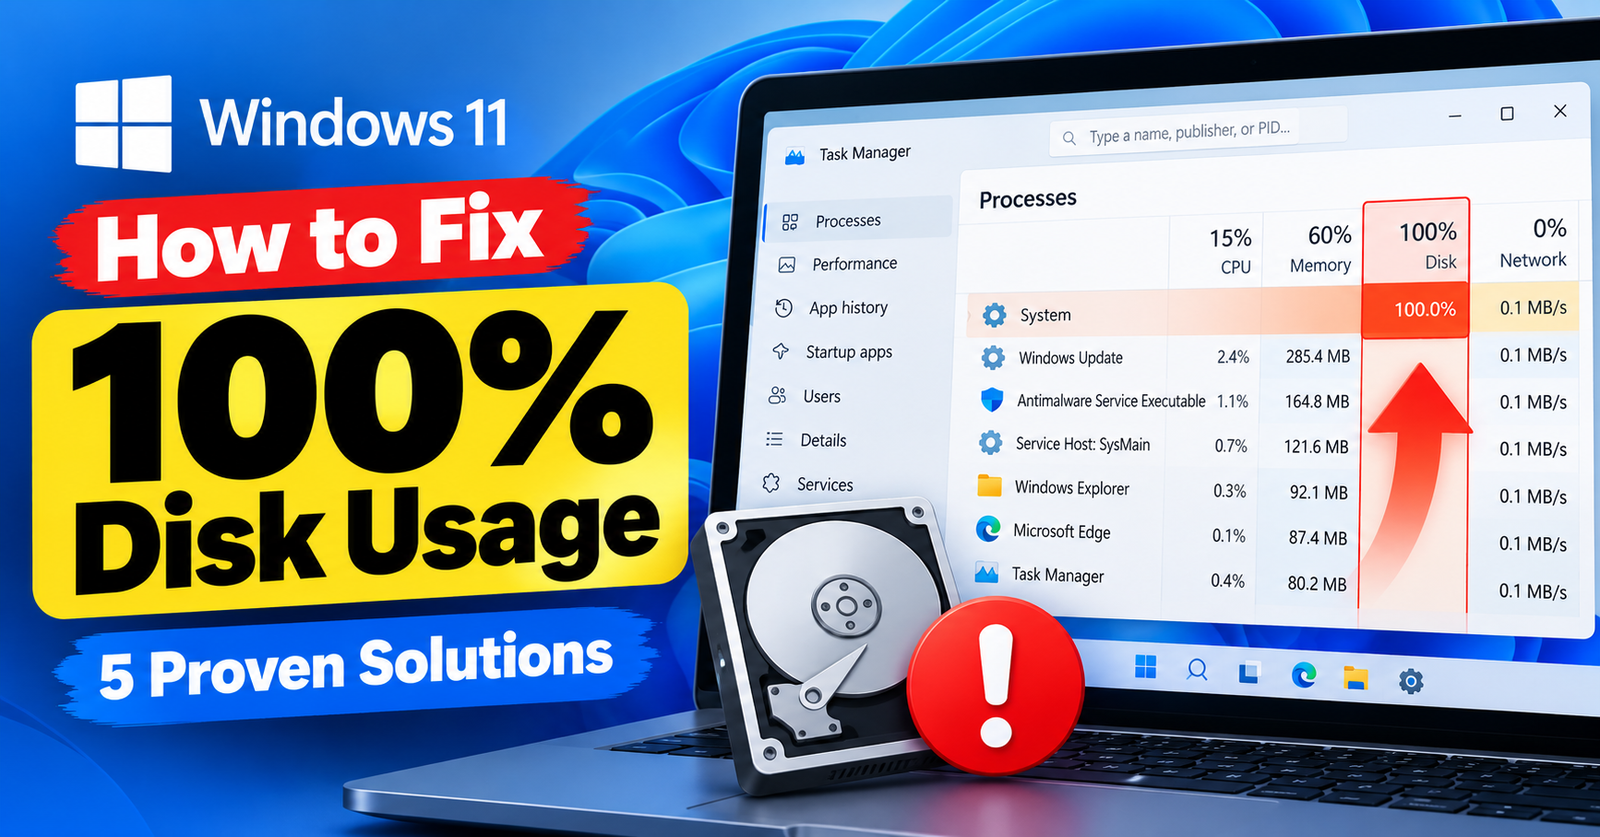
You turn on your computer, launch your web browser, and suddenly everything grinds to a complete halt. Folders take thirty seconds to open, your cursor stutters, and simple clicks trigger the spinning blue circle.
You open Task Manager, and there it is: Disk Usage locked at 100% in bright red, even though your CPU and RAM are barely breaking a sweat.
Experiencing 100% disk usage in Windows 11 is one of the most frustrating performance bugs. Background search indexing, corrupted paging files, or runaway Windows telemetry services can easily overwhelm your storage drive.
In this guide, we will walk you through five proven solutions to drop your disk usage back to normal levels and restore lightning-fast system performance.
Fix 1: Disable the SysMain (Superfetch) Service
The SysMain service is designed to pre-load your favorite applications into memory. However, in Windows 11, it frequently gets stuck in an infinite scan loop, thrashing your drive with non-stop read/write requests.





- Press Windows Key + R, type
services.msc, and hit Enter. - Scroll down the alphabetical list and locate SysMain.
- Right-click SysMain and select Properties.
- Change the Startup type dropdown to Disabled.
- Click the Stop button under Service status.
- Click Apply and OK.
Check Task Manager. On most computers, disk usage immediately drops from 100% to under 5%!
Fix 2: Disable Windows Search Indexing Service
Windows Search continuously builds a database of all files on your drive. If your index database is fragmented or contains corrupted file headers, the indexing search loop will max out your disk permanently.
- In the same
services.mscwindow, find Windows Search. - Right-click and select Properties.
- Change Startup type to Disabled.
- Click Stop and click OK.
Tip: You can still search for files normally with this service stopped; it simply searches directly rather than maintaining a continuous background index.
Fix 3: Reset Virtual Memory (Paging File)
If your virtual memory paging file becomes fragmented or oversized, Windows spends all its disk bandwidth swapping data between physical RAM and your hard drive.
- Press Windows Key + R, type
sysdm.cpl, and press Enter to launch System Properties. - Click on the Advanced tab.
- Under Performance, click Settings.
- Go to the Advanced tab and click the Change… button under Virtual memory.
- Uncheck Automatically manage paging file size for all drives.
- Select Custom size:
- Initial size (MB): Set to 1.5 times your total RAM (for example, 8192 MB for 8GB RAM).
- Maximum size (MB): Set to 3 times your initial size (e.g., 16384 MB).
- Click Set, then click OK and restart your PC.
Fix 4: Run a Disk Check (CHKDSK) for Bad Sectors
If your storage drive has developed physical bad sectors or corrupt file allocation tables, Windows will repeatedly retry reading the sector, holding disk usage at 100%.
- Open Command Prompt as Administrator (type
cmdin Windows search). - Type the following command and hit Enter:
chkdsk C: /f /r
Press Y when asked to schedule the volume check on your next restart, then reboot your computer. Windows will scan and isolate any damaged sectors.
Fix 5: Update Your Storage Controller Driver (AHCI)
A known bug in the standard Microsoft StorAHCI.sys driver causes solid-state drives (SSDs) to become unresponsive after interrupt requests.
- Press Windows Key + X and choose Device Manager.
- Expand IDE ATA/ATAPI controllers.
- Right-click on your controller (e.g., Standard SATA AHCI Controller) and select Update driver.
- Search automatically for drivers.
For more PC and server optimization guides, read our tutorials on fixing the failed to write file to disk error and resolving 413 request entity too large issues.
Wrapping Up
Experiencing 100% disk usage can paralyze your workflow, but disabling the SysMain service and configuring a custom virtual memory size will return your drive to normal operating speeds immediately.
Did disabling SysMain drop your disk usage? Let us know your results in the comments below!