

Briefly Unavailable for Scheduled Maintenance: How to Fix in WordPress (3 Easy Steps)
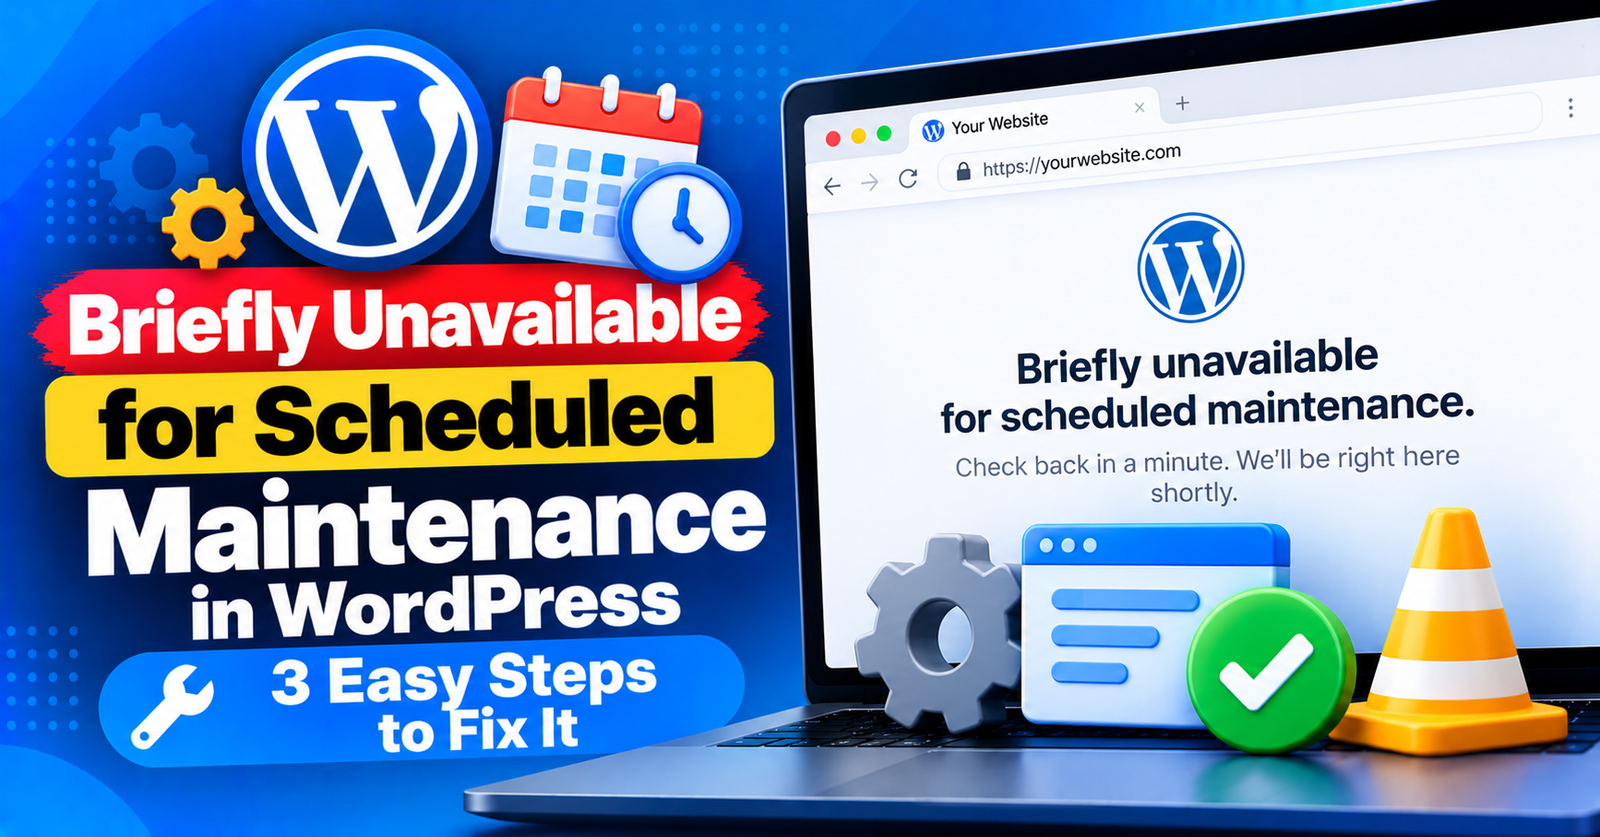
You hit update on a plugin or theme inside your WordPress dashboard, refresh your homepage to check if everything looks good, and suddenly your entire website is replaced by this stark white screen with plain text:
Briefly unavailable for scheduled maintenance. Check back in a minute.
You wait a minute. You refresh the page. Then you wait five minutes and refresh again. The message refuses to go away. Your visitors cannot see your content, and worse, you cannot even log in to your wp-admin dashboard to fix it.
Do not panic. Your site is not broken, your data is completely safe, and fixing this takes literally less than two minutes once you know where to look.
In this quick guide, we will explain why WordPress gets stuck in maintenance mode and show you three simple steps to bring your website back online immediately.

What Causes the Briefly Unavailable for Scheduled Maintenance Error?
Whenever you update core WordPress files, themes, or plugins, WordPress automatically enters a temporary maintenance state.
Behind the scenes, WordPress creates a temporary file named .maintenance in your root directory. While this file exists, anyone visiting your site—including administrators—sees the scheduled maintenance notice. This prevents visitors from loading broken pages while files are being replaced.
Normally, as soon as the update finishes, WordPress automatically deletes this .maintenance file, and your site goes back to normal.
However, if something interrupts the update process—such as a slow internet connection, a server script timeout, or a memory limit exhaustion—WordPress never gets to run the cleanup script. The .maintenance file remains stuck in your root directory, locking you out.
Fix 1: Delete the .maintenance File (The 60-Second Fix)
Because the error is caused entirely by the presence of that single file, deleting it will instantly restore your website.
Here is how to do it using either cPanel File Manager or an FTP client like FileZilla:
Step 1: Open your root directory
Log in to your web hosting cPanel, open File Manager, and navigate to your website root folder (typically named public_html).
Step 2: Enable hidden files
The file we are looking for starts with a dot, which means it is a hidden system file. If you cannot see it:
- In cPanel: Click the Settings button in the top-right corner, check Show Hidden Files (dotfiles), and click Save.
- In FileZilla: Go to the top menu, click Server, and ensure Force showing hidden files is checked.
Step 3: Delete the .maintenance file
Look through the list of files in public_html. You will spot a file named .maintenance.
Right-click on the .maintenance file and select Delete.
Now, open a new browser tab and visit your website. Your site should load instantly without the error message!
Fix 2: Prevent Maintenance Timeouts by Increasing PHP Memory Limit
If your website gets stuck in maintenance mode frequently during updates, your server is likely running out of memory before the installation scripts can finish.
You can prevent future update crashes by increasing your PHP memory limit inside your wp-config.php file:
- In your public_html directory, find and edit the wp-config.php file.
- Locate the line that reads:
/* That's all, stop editing! Happy publishing. */ - Just above that line, paste the following code snippet:
define('WP_MEMORY_LIMIT', '256M');This gives WordPress 256MB of operating memory, ensuring plugins have plenty of room to extract and install smoothly without timing out.
If you also encounter upload blocks or storage limits while managing plugins, be sure to check our tutorials on resolving the failed to write file to disk error and increasing your limits for the 413 request entity too large error.
Fix 3: How to Safely Re-Run Failed Updates
Once you have deleted the .maintenance file and regained access to your dashboard, remember that the update that caused the interruption was not completed.
To safely complete the update without crashing again:
- Update plugins one by one: Never click Update All on ten plugins at the exact same moment on shared hosting. Update them individually so your server is not overwhelmed.
- Check compatibility: Ensure the plugin or theme is compatible with your current version of WordPress.
- Clear your browser and server cache: If you use a caching plugin like LiteSpeed, purge all caches before updating.
Frequently Asked Questions
Will deleting the .maintenance file break my WordPress site?
Not at all. The .maintenance file contains only a single timestamp. Deleting it simply tells WordPress to stop displaying the maintenance screen and resume normal operations.
What if I cannot find the .maintenance file?
If hidden files are enabled and you still do not see .maintenance in public_html, check inside your wp-content directory or verify that your server is not caching the maintenance page. Purging your CDN (like Cloudflare) or browser cache will resolve ghost maintenance screens.
Wrapping Up
The briefly unavailable for scheduled maintenance message can be alarming when you are locked out of your admin dashboard, but removing the stuck .maintenance file gets you back up and running in under two minutes.
Did this fix work for you? Drop a comment below with which plugin caused the hangup so other readers can stay informed!