

Sorry, This File Type Is Not Permitted for Security Reasons in WordPress: 3 Fixes
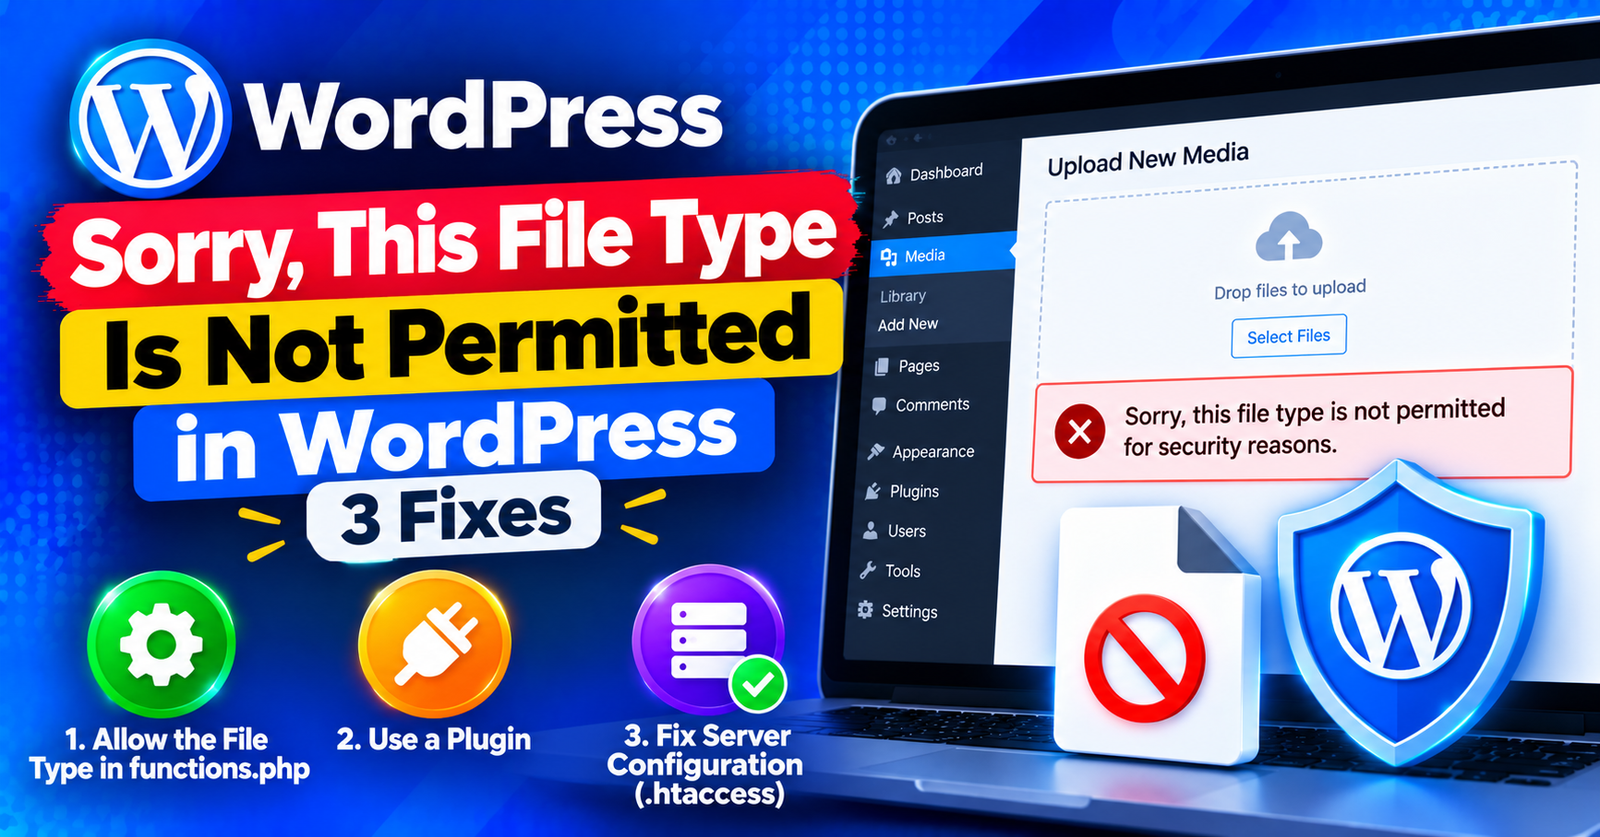
You design a modern vector logo in SVG format or prepare a WebP image for your blog, drag it into your WordPress Media Library, and are immediately stopped by this notification:
Sorry, this file type is not permitted for security reasons.
By default, WordPress limits file uploads to a strict whitelist of safe file formats (such as standard JPG, PNG, PDF, and MP3). This whitelist exists to prevent malicious users from uploading executable scripts like .php or .exe files disguised as media.
However, modern web design frequently requires formats like SVG (Scalable Vector Graphics), WebP, JSON (Lottie animations), or custom web fonts (WOFF/WOFF2) that are blocked by default.
In this guide, we will show you three easy methods to fix the file type is not permitted error in WordPress and upload any file format safely.




Method 1: Enable All File Types via wp-config.php (Fastest Solution)
If you are the sole administrator on your website, you can disable WordPress’s file upload filtering with one configuration line.
- Log in to your hosting cPanel, open File Manager, and open
public_html/wp-config.phpfor editing. - Scroll down to the line:
/* That's all, stop editing! Happy publishing. */ - Right above it, paste this directive:
define( 'ALLOW_UNFILTERED_UPLOADS', true );
Save changes. WordPress will now permit administrators to upload any file format into the Media Library.
Security Note: If your website allows other users or contributors to upload files, Method 2 or 3 is much safer, as it whitelists only specific MIME types rather than allowing everything.
Method 2: Use the Free File Additional Types Plugin
If you prefer a visual interface without touching code, the free Enhanced Media Library or WP Add Mime Types plugin lets you selectively enable specific file extensions.
- In your WordPress dashboard, go to Plugins > Add New.
- Search for WP Add Mime Types and click Install Now, then Activate.
- Go to Settings > Mime Type Settings.
- Add your desired extension and its MIME type to the list (for example, SVG):
svg = image/svg+xml
Click Save. You can now upload SVGs cleanly through the native WordPress uploader.
Method 3: Add Custom MIME Types via functions.php (No Plugin Needed)
If you prefer a lightweight approach without installing extra plugins, you can add a simple PHP filter to your theme’s functions.php file:
- Go to Appearance > Theme File Editor (or edit
wp-content/themes/your-theme/functions.php). - Paste this snippet at the bottom:
function custom_upload_mimes( $existing_mimes ) {
    $existing_mimes['svg'] = 'image/svg+xml';
    $existing_mimes['webp'] = 'image/webp';
    $existing_mimes['woff2'] = 'font/woff2';
    return $existing_mimes;
}
add_filter( 'mime_types', 'custom_upload_mimes' );
Save the file. Your Media Library will now recognize and accept SVG, WebP, and WOFF2 files seamlessly!
For more WordPress media and server administration guides, read our tutorials on solving the failed to write file to disk error and expanding limits for 413 request entity too large issues.
Wrapping Up
The “file type is not permitted” restriction is simply WordPress’s security whitelist at work. Adding targeted MIME types via functions.php or setting ALLOW_UNFILTERED_UPLOADS gives you the flexibility you need for modern web design assets.
Which file format were you trying to upload? Let us know in the comments below!