

How to Add Custom CSS in WordPress: 4 Clean & Safe Methods
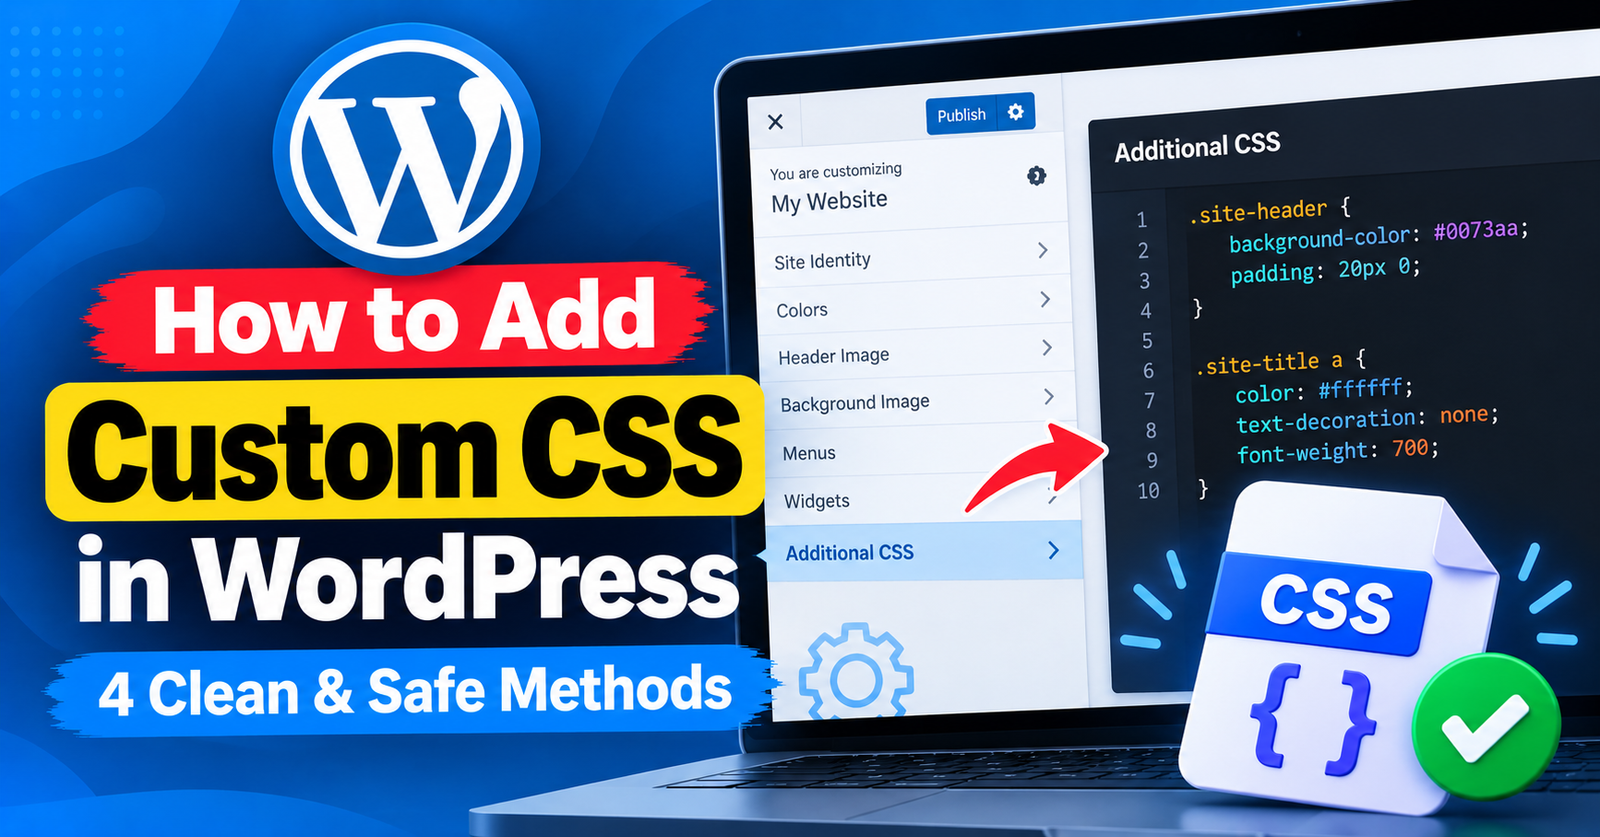
You install a beautiful WordPress theme, but you want to tweak a button color, adjust your heading line-height, or hide an unnecessary sidebar widget. You open your theme’s style.css file, make changes, and everything looks great.
Three weeks later, your theme releases a security update. You hit update, and… all your custom styling modifications are wiped out completely.
Editing a parent theme’s stylesheet directly is the number one mistake beginners make. Fortunately, WordPress provides several safe, clean methods to add custom CSS rules that survive all future theme and plugin updates.
In this guide, we will walk you through four recommended ways to add custom CSS in WordPress safely.
Method 1: Use the WordPress Theme Customizer (Best for Beginners)
The native WordPress Customizer is the easiest, most accessible place to add custom CSS rules with instant live preview.





- In your WordPress dashboard, navigate to Appearance > Customize.
- Scroll to the bottom of the left sidebar and click Additional CSS.
- Paste your custom CSS code into the editor box.
- You will see your changes render live in the preview window on the right.
- Click Publish to save changes.
Pro Tip for Block Themes: If your theme uses Full Site Editing (FSE) and you do not see Customize under Appearance, visit this URL directly in your browser: https://yourdomain.com/wp-admin/customize.php
Method 2: Use a Dedicated Code Snippets Plugin (Most Recommended)
Adding CSS through a code manager like WPCode (formerly Insert Headers and Footers) keeps your custom styles completely independent of your active theme. If you switch themes next year, your custom styles will never be lost!
- Install and activate the free WPCode plugin.
- Navigate to Code Snippets > + Add Snippet.
- Click Add Your Custom Code (New Snippet).
- Set the Code Type dropdown to CSS Snippet.
- Paste your custom CSS rules into the code box.
- Toggle the switch from Inactive to Active and click Save Snippet.
Method 3: Create a WordPress Child Theme (Best for Heavy Customization)
If you plan on writing hundreds of lines of custom CSS and modifying PHP template files, building a Child Theme is the developer standard.
- In
wp-content/themes/, create a new folder named after your parent theme (e.g.,astra-child). - Create a
style.cssfile inside that folder with a header declaring theTemplate: astraparent. - Activate your Child Theme under Appearance > Themes.
- Write all custom styling inside your child theme’s
style.cssfile.
Because updates only overwrite the parent theme, your child theme’s styles remain 100% protected forever.
Method 4: Add Custom CSS to Individual Blocks (Block Editor)
If you only want to style one specific paragraph, button, or group on a single page, modern block plugins allow block-level CSS.
- Open the page or post in the Block Editor.
- Click on the specific block you wish to style.
- In the right sidebar, expand the Advanced panel.
- Under Additional CSS class(es), enter a custom class name (like
my-custom-button). - Now define that class inside your Customizer or WPCode.
For more web design and server optimization guides, read our tutorials on solving the failed to write file to disk error and expanding limits for 413 request entity too large issues.
Wrapping Up
Never edit a parent theme’s style.css file directly. Using the WordPress Customizer’s Additional CSS panel or the WPCode plugin ensures your customizations remain permanent through every future update.
Which method do you use to manage custom styles? Share your thoughts in the comments below!